Aydin CLI Tutorials
We have few CLI tutorials below to demonstrate how to use various features of the CLI Aydin provides.
Checking if Aydin CLI can read and interpret your image right
You can use the following line to get information about how Aydin will be interpreting their image file.
$ aydin info image.tif

├╗ Reading image file at: /PATH/TO/IMAGE/image.tif
│├ Reading file /PATH/TO/IMAGE/image.tif as TIF file
│├ Metadata:  is_folder=False, ext=tif, axes=YX, shape=(321, 481), batch_axes=(False, False), channel_axes=(False, False), dtype=uint8, format=tif
│┴« 4.24 milliseconds
│
Viewing your image with Aydin CLI
You can use the following line to view their image with help of integrated napari in Aydin CLI.
$ aydin view image.tif
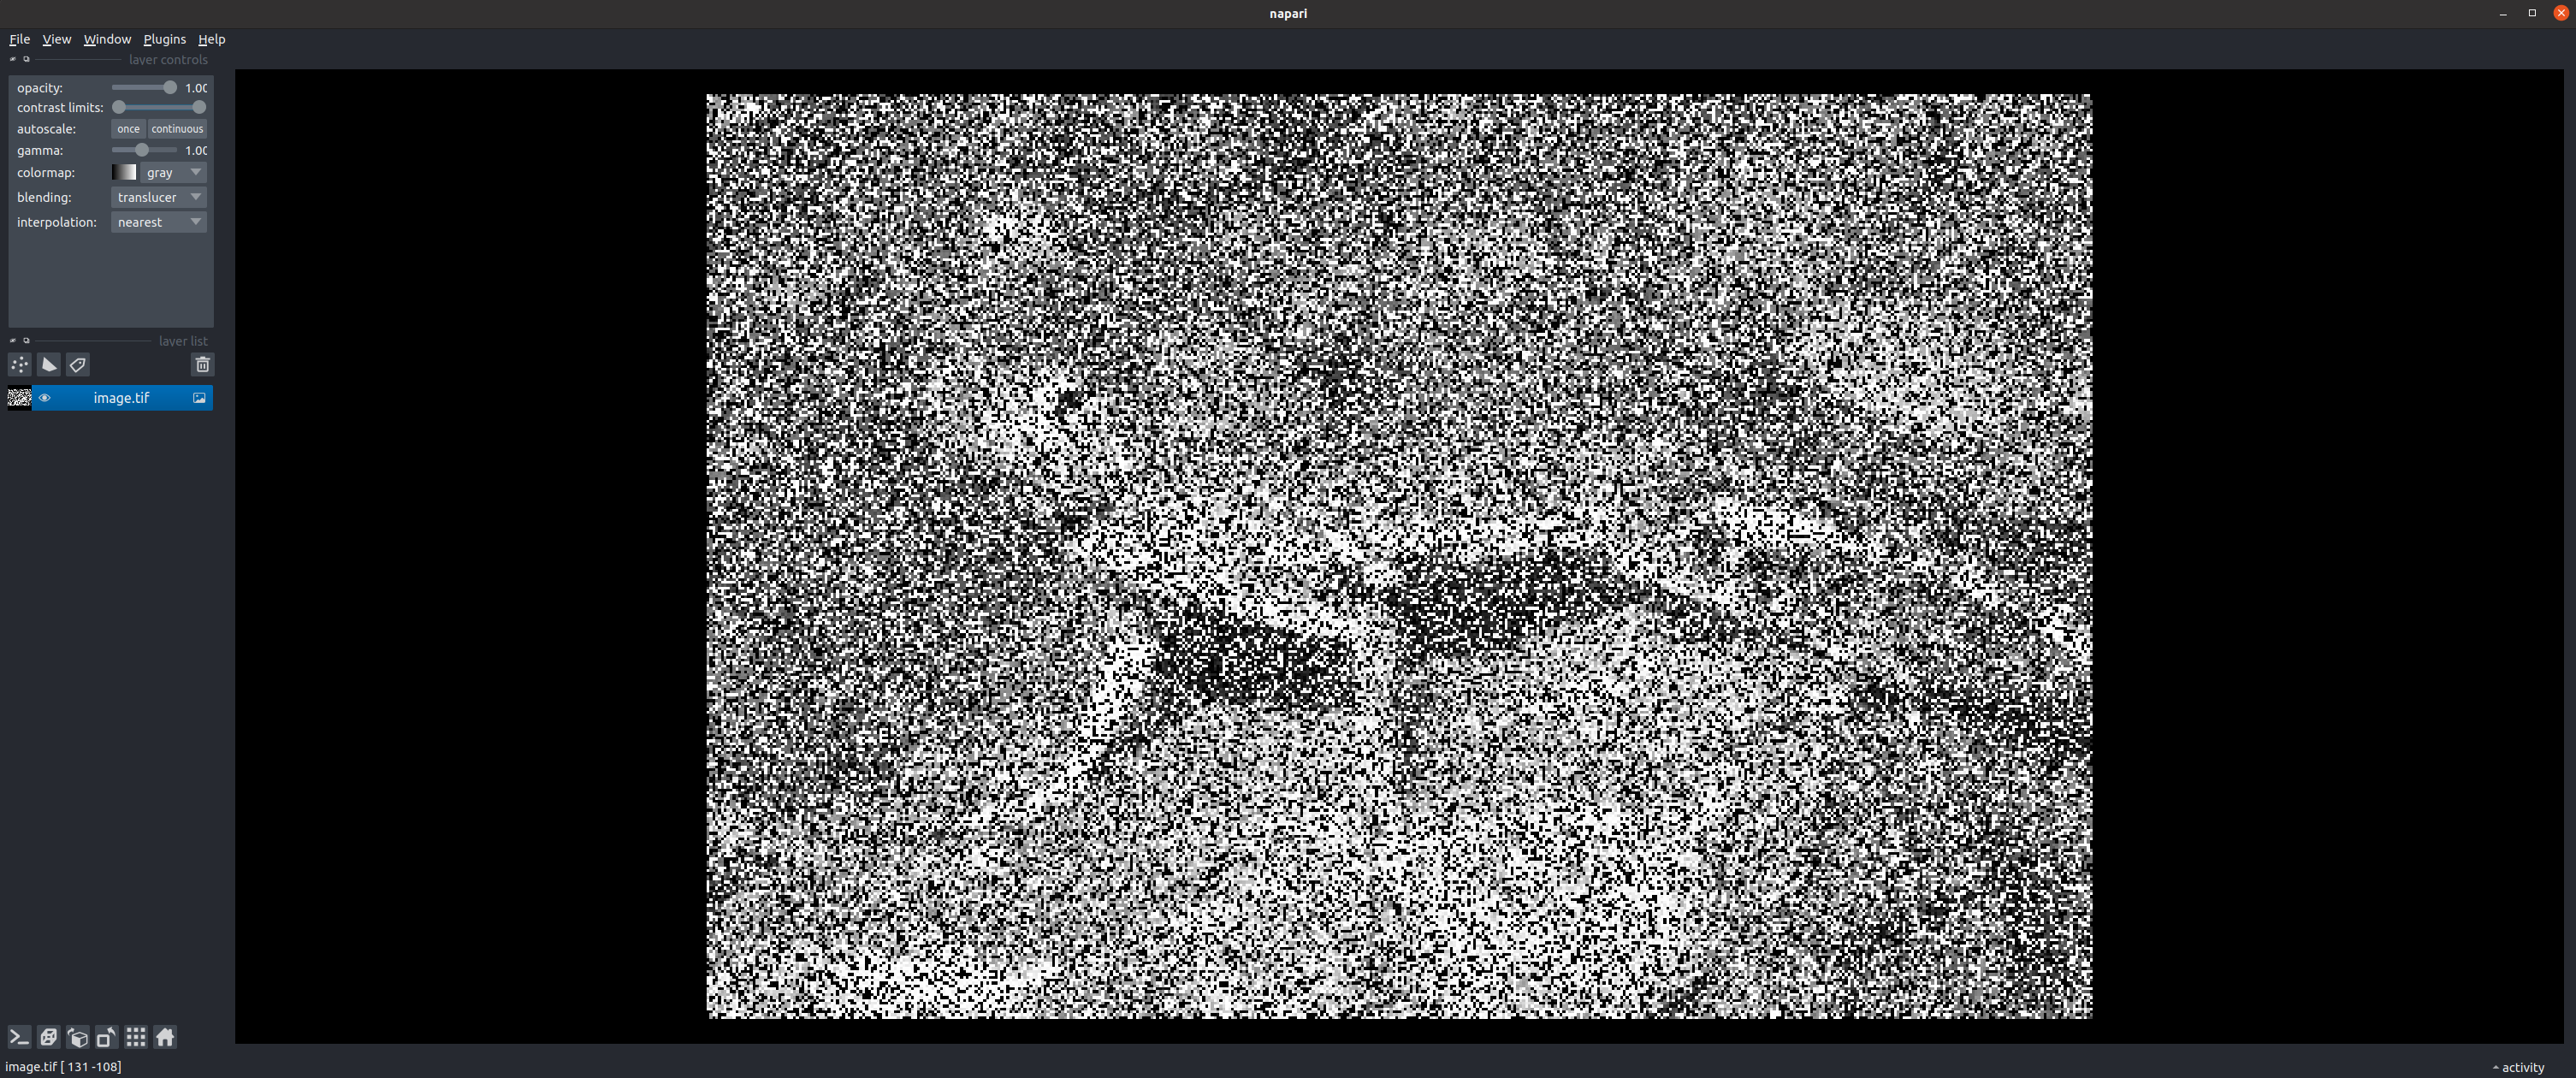
Note: aydin view command would work as expected only on the machines with screen access.
Denoising a single image
You can use the following line to denoise a single image with default options.
$ aydin denoise image.tif
Denoising a single image with customized options
We have made it possible for users to play with various parameters and options related to the denoising approach they have chosen and save their specific set of parameters into a JSON file. We also made it possible to pass such JSON file to Aydin CLI. One can achieve this as shown below:
$ aydin denoise image.tif --lower-level-args=image_options.json
Also we provide the dimensions tab on Aydin Studio where user can select how Aydin should be treating dimensions of the loaded image. This is also possible with Aydin CLI denoise command. An example on how to tell Aydin to treat first two dimensions of a four-dimensional image as batch dimensions shown below:
$ aydin denoise image.tif --batch-axis "[True, True, False, False]"
Denoising a single image with a pre-trained Aydin model
You can use the following line to denoise a single image with a pre-trained Aydin model. You can use the Aydin Studio GUI to play with different parameters and train a model to pass here to the Aydin CLI.
$ aydin denoise image.tif --model-path=image_model.zip --use-model
Denoising multiple image files
You can use the following line to denoise multiple image files with default options:
$ aydin denoise image1.tif image2.tif image3.tif
Or alternatively one can use glob patterns such as:
$ aydin denoise image*.tif
Deconvolving a single image
You can use the following line to deconvolve a single image with default options. Passed psf file assumed to be a single psf image in a lossless format.
$ aydin lucyrichardson image.tif psf.tif
Specifying your own output folder
You can use the following lines to specify your desired output folder to Aydin for both denoising and deconvolution runs:
$ aydin denoise image.tif --output-folder=/PATH/TO/YOUR/FOLDER
$ aydin lucyrichardson image.tif  psf.tif --output-folder=/PATH/TO/YOUR/FOLDER
Choosing the computational backend
You can use the following line to denoise or deconvolve a single image with their choice of computational backend.
$ aydin denoise image.tif --backend="noise2selffgr-nn"
$ aydin lucyrichardson image.tif --backend="cupy"